Enabling Hardware Virtualization Extension:
First, you have to enable hardware virtualization extension from the BIOS of your computer. If you're using intel processor, then it will be called VT-x or VT-d. If you're using an AMD processor, then it will be called AMD-v in the BIOS.
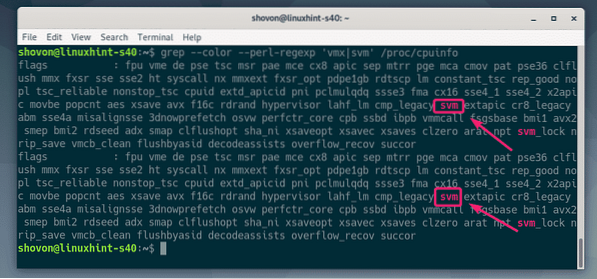
Once you have hardware virtualization enabled, run the following command to verify that VT-x/VT-d or AMD-v extension is enabled.
$ grep --color --perl-regexp 'vmx|svm' /proc/cpuinfo
As you can see, svm flag is available. I am using an AMD processor. If you're using Intel processor, then it will be vmx. So, hardware virtualization is enabled. Great!
Installing KVM/QEMU:
Now, you have to install KVM and QEMU from the official package repository of Debian 10 Buster.
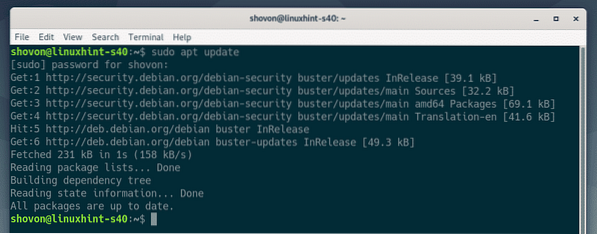
First, update the APT package repository cache with the following command:
$ sudo apt update
The APT package repository cache should be updated.
Now, install KVM and QEMU with the following command:
$ sudo apt install qemu qemu-kvm qemu-system qemu-utils
To confirm the installation, press Y and then press
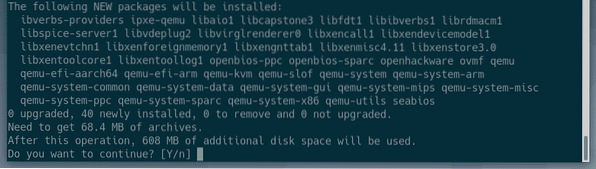
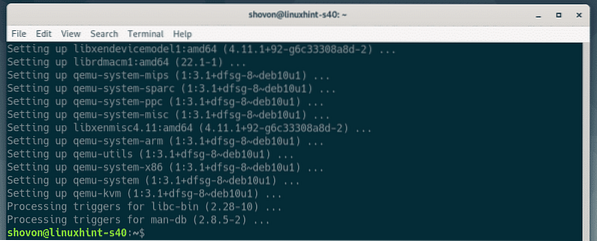
APT package manager will download and install all the required packages.
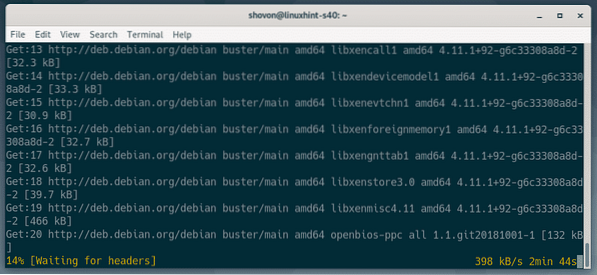
At this point, KVM and QEMU should be installed.
Installing LibVirt:
To create virtual machines and manage them easily, libvirt is used. It's a must have tool for KVM and QEMU virtualization.
libvirt and all the required tools are available in the official package repository of Debian 10 Buster.
To install libvirt and all the necessary tools, run the following command:
$ sudo apt install libvirt-clients libvirt-daemon-system virtinst
Now, press Y and then press
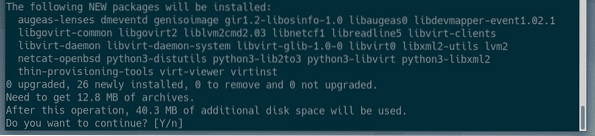
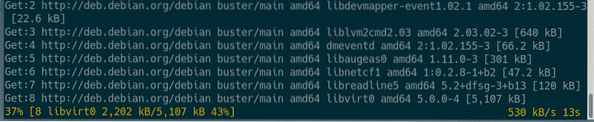
APT package manager will download and install all the required packages.
At this point, libvirt and all the required tools will be installed.

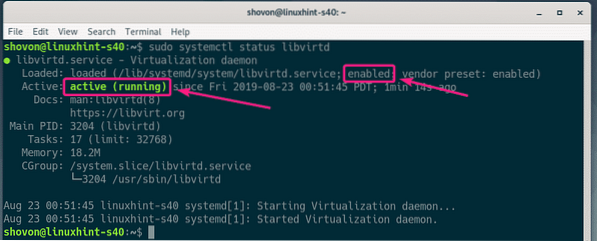
Now, check whether libvirtd service is running with the following commnad:
$ sudo systemctl status libvirtdAs you can see, libvirtd service is running. The libvirtd service is also enabled. So, it will start automatically on boot.
If in any case, libvirtd service is not running, you can start it with the following command:
$ sudo systemctl start libvirtdBy default, the default network of libvirt is not active as you can see in the screenshot below.
$ sudo virsh net-list --all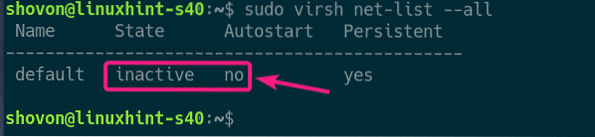
In order to create virtual machines with libvirt, the default network must be active.
To start the default network, run the following command:
$ sudo virsh net-start default
Also, configure the default network to automatically start on boot with the following command:
$ sudo virsh net-autostart default
Creating a KVM Virtual Machine:
In this section, I am going to show you how to create your first KVM virtual machine and install an operating system (Ubuntu 16.04 LTS) from an ISO image on the virtual machine. So, let's get started.
First, make a new directory structure for KVM virtual machines with the following command:
$ sudo mkdir -pv /kvm/disk,iso
The following directory structure should be created.
/kvm-- disk/
--Iso/
In the /kvm/disk directory, all the virtual machine hard disk images will be kept.
In the /kvm/iso directory, all the operating system ISO images will be kept.

Now, navigate to the /kvm/iso directory with the following command:
$ cd /kvm/iso
Now, download the Ubuntu 16.04 LTS ISO image with the following command:
$ sudo wget http://releases.ubuntu.com/16.04.6/ubuntu-16.04.6-server-amd64.iso
The ISO image is being downloaded. It will take a while to complete. Once the download is complete, the ISO image will be available in the /kvm/iso directory.

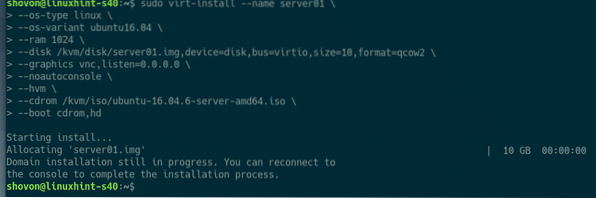
Once the download is complete, run the following command to create a new KVM virtual machine.
$ sudo virt-install --name server01 \--os-type linux \
--os-variant ubuntu16.04 \
--ram 1024\
--disk /kvm/disk/server01.img,device=disk,bus=virtio,size=10,format=qcow2 \
--graphics vnc,listen=0.0.0.0 \
--noautoconsole \
--hvm \
--cdrom /kvm/iso/ubuntu-16.04.6-server-amd64.iso \
--boot cdrom,hd
NOTE: You can change the bold font text in the command above in order to install a new operating system. The command is pretty self-explanatory. So, I am not going into more details.
A new KVM virtual machine should be created.
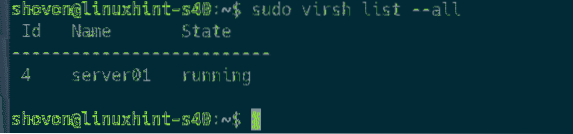
You can list all the KVM virtual machines with the following command:
$ sudo virsh list --allAs you can see, the new KVM virtual machine server01 is running.
Now, print the VNC port of the server01 virtual machine with the following command:
$ sudo virsh vncdisplay server01As you can see, the VNC port is :0

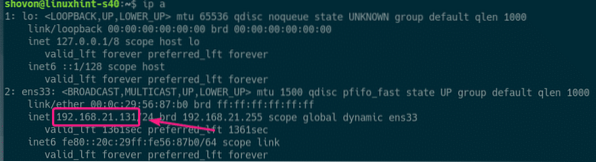
Now, print the IP address of your KVM/QEMU server with the following command:
$ ip aAs you can see, the IP address is 192.168.21.131. It will be different in your case. So, make sure to replace it from now on.
Now, you should be able to connect to the VNC server of the virtual machine from any VNC client.

Just connect to the VNC address 192.168.21.131:0.
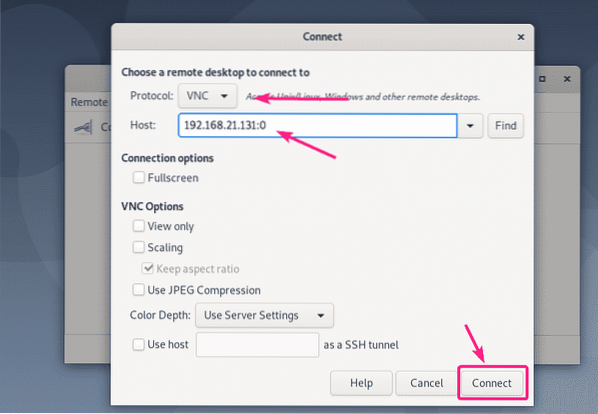
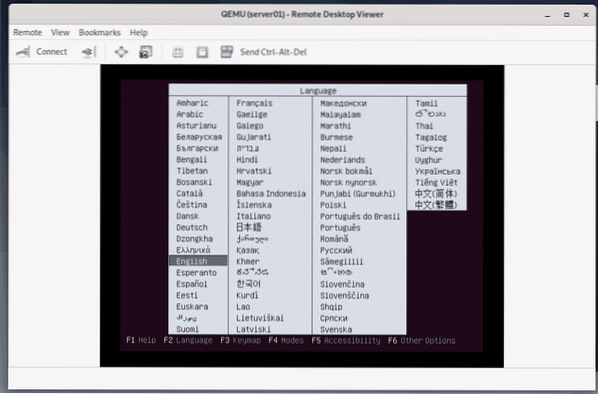
You should be connected to the VNC server. As you can see, the Ubuntu 16.04 LTS installer is running. Now, install Ubuntu 16.04 on the virtual machine as you usually do.
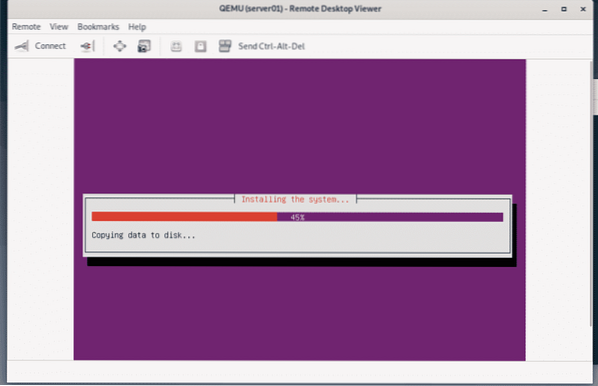
Ubuntu 16.04 LTS is being installed on the KVM virtual machine.
Once Ubuntu 16.04 LTS is installed, the server01 virtual machine will be powered off automatically.
To power it on again, run the following command:
$ sudo virsh start server01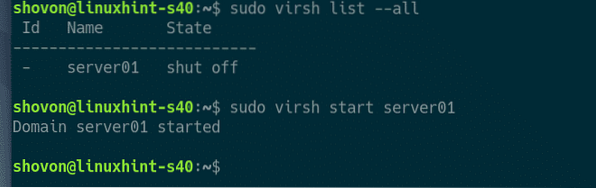
Now, you should be able to connect to the console of the server01 virtual machine using VNC again.
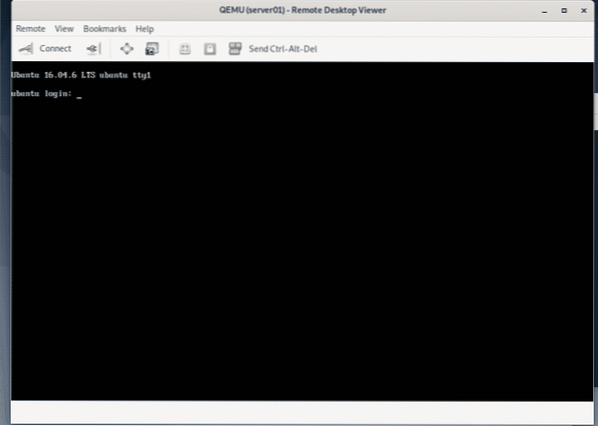
I have also installed SSH server on the server01 virtual machine. To connect to the virtual machine via SSH, print the IP information of the virtual machine first.
$ ip a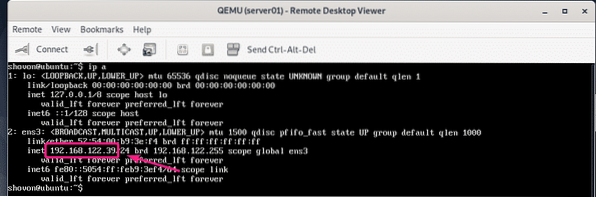
Now, you should be able to SSH into the virtual machine from your KVM/QEMU server as you can see in the screenshot below.
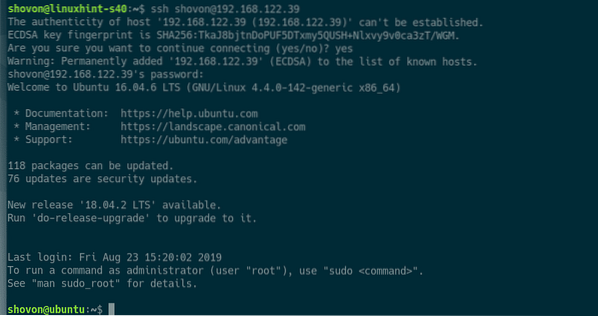
So, that's how you install KVM on Debian 10 and use libvirt to create KVM virtual machines on Debian 10. Thanks for reading this article.


